Okay, there are many ways to make your home smart. But what is the best way? What is the most secured way? Great questions. For now I do not have the answer for that. I already had a led dimmer from EcoDim (https://www.ecodim.nl/eco-dim07-zigbee-pro.html). This one supported the Zigbee protocol, so I am going to use that. This is also be used by the Philips Hue and Ikea Hub. Of course I am a IT guy, so I am not going to buy a gateway/hub, but I am going to build one 🙂
For this build, I am using a Raspberry Pi 3 with a ConBee II (Zigbee USB-Gateway) and I am going to install Domoticz (https://www.domoticz.com/) on it.
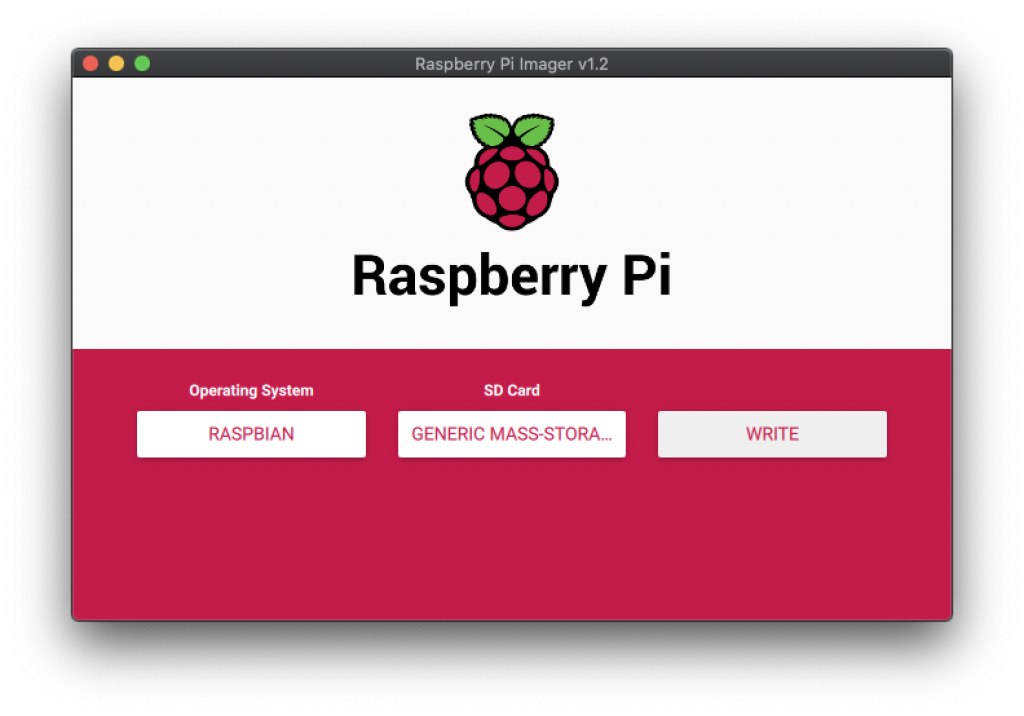
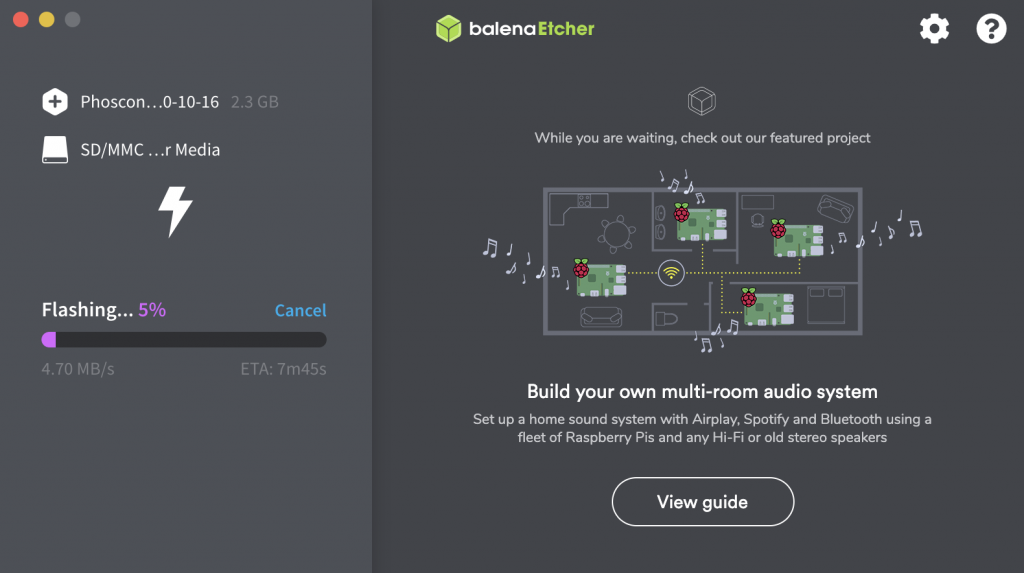
First step is to go to the ConBee website and download the installation image. They already have start ready images for you. I choose the Raspbian Buster Headless (Beta image without desktop based on Debian Buster). To write this image to the SD card, you need to download the Etcher program. Install and start it.
1. Insert the SD-card into a SD card reader
2. Press Select image and select the downloaded SD-card image (Phoscon_Gateway_Headless_2020-10-16.xz)
3. Press Select drive and select the SD card drive
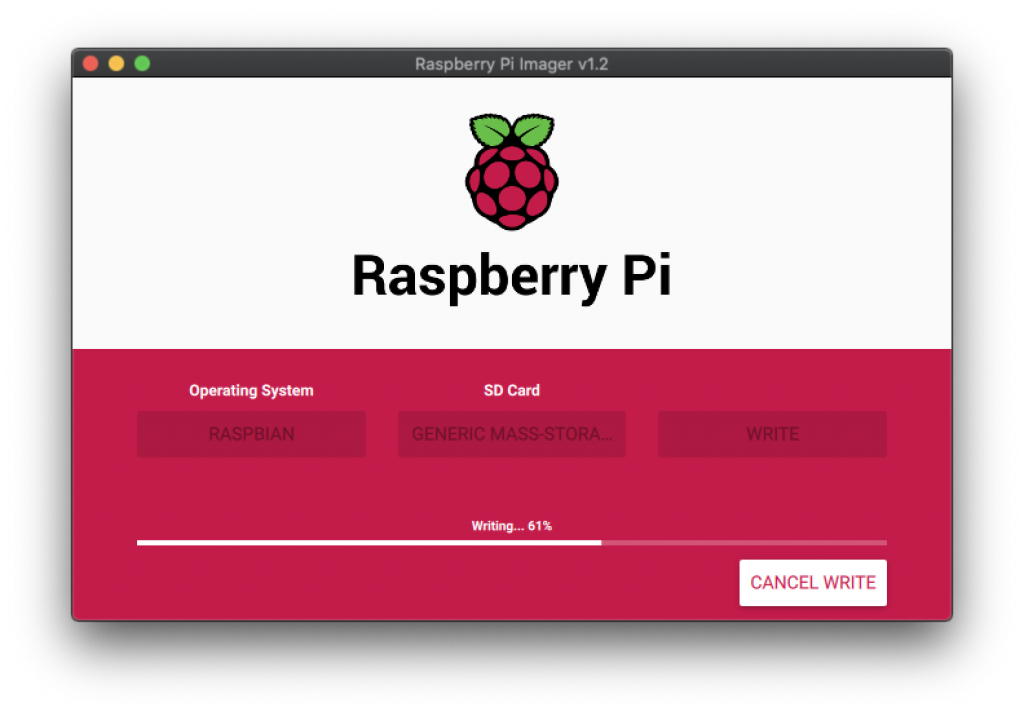
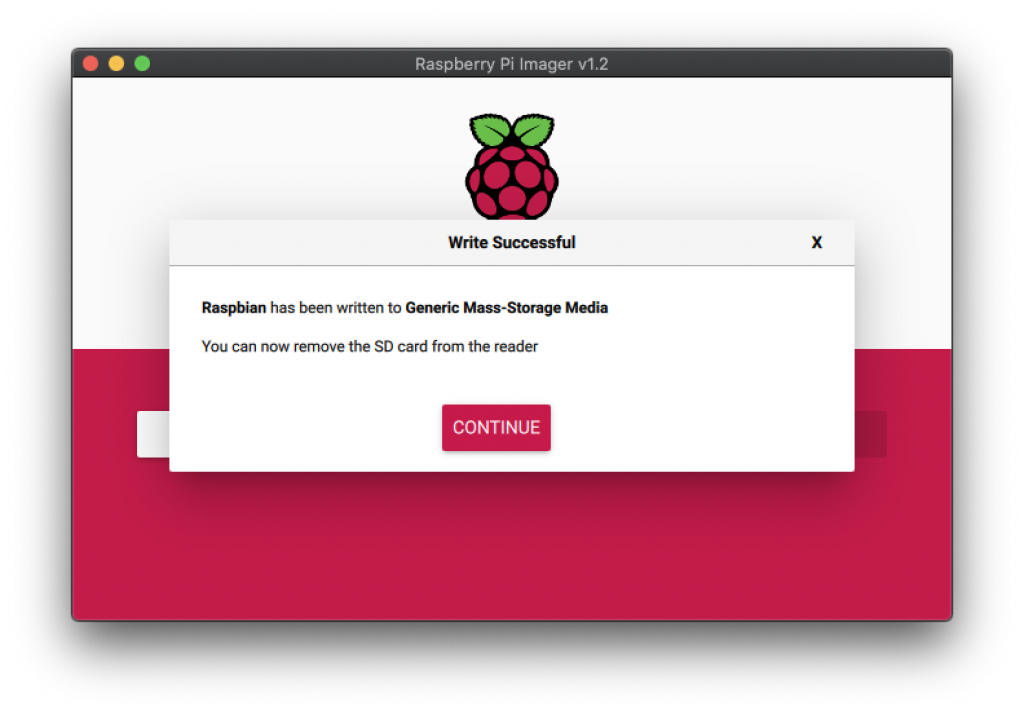
4. Press Flash! to start the copy process
Place the SD card into the Raspberry Pi, add network and add the USB ConBee 2. Add power to boot. SSH is by default enabled. Find the IP of the Raspberry Pi by checking your DHCP list on your router or by adding a monitor to it and run # ip a
Login credentials are:
Username: pi
Password: raspbeegw
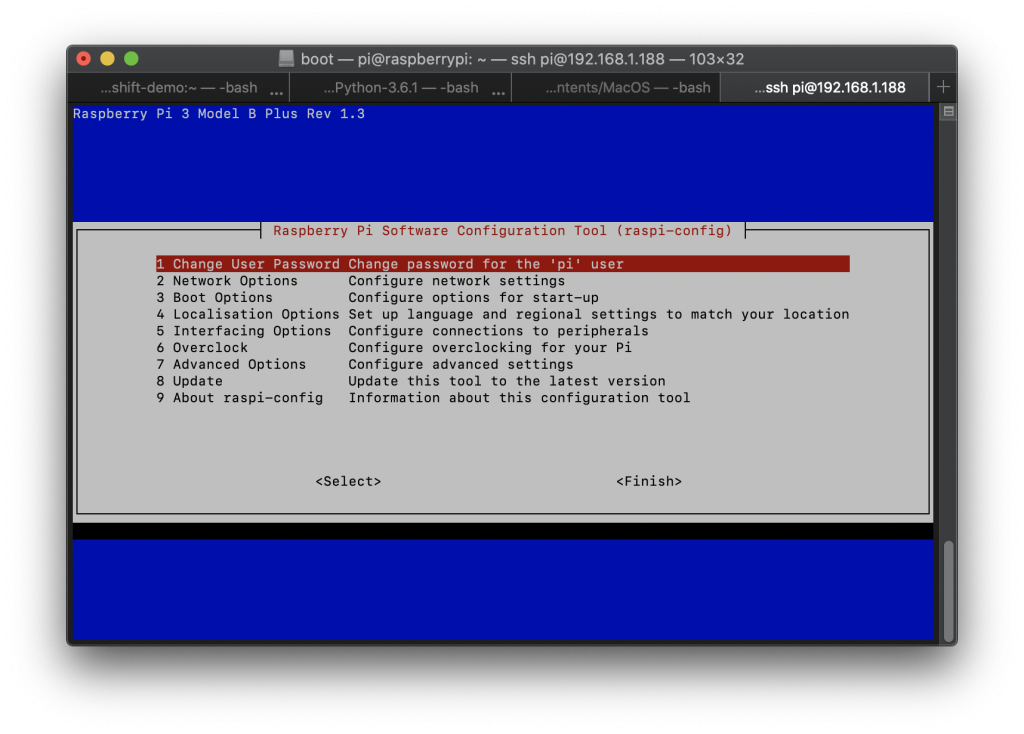
Change basic configurations by running command with root permissions:# sudo raspi-config
Change the following settings (feel free to change more):
1. Change User Password
2. Network Options – Hostname
4. Localisation Options – Time Zone
7. Advanced Options – Expand Filesystem
8 Update
Some of the settings need a reboot to get activated, run command
# sudo reboot
On the Pi or on a different computer in the same network, go to
http://phoscon.de/app
Click on the icon in the top (some kind of “P”) to start the search to your Phoscon gateway. When it is found, it will be displayed below the search bar. See printscreen below.
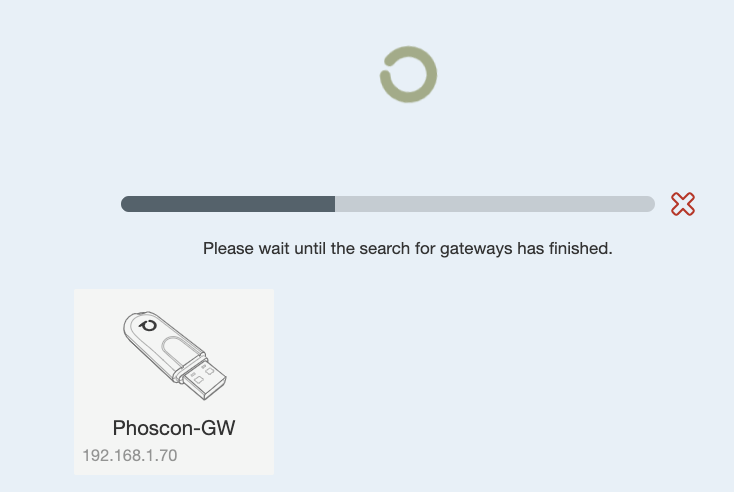
When the gateway is found (in my case the Phoscon-GW), click on it.
Set a Gateway name and a Login password and click on Next.

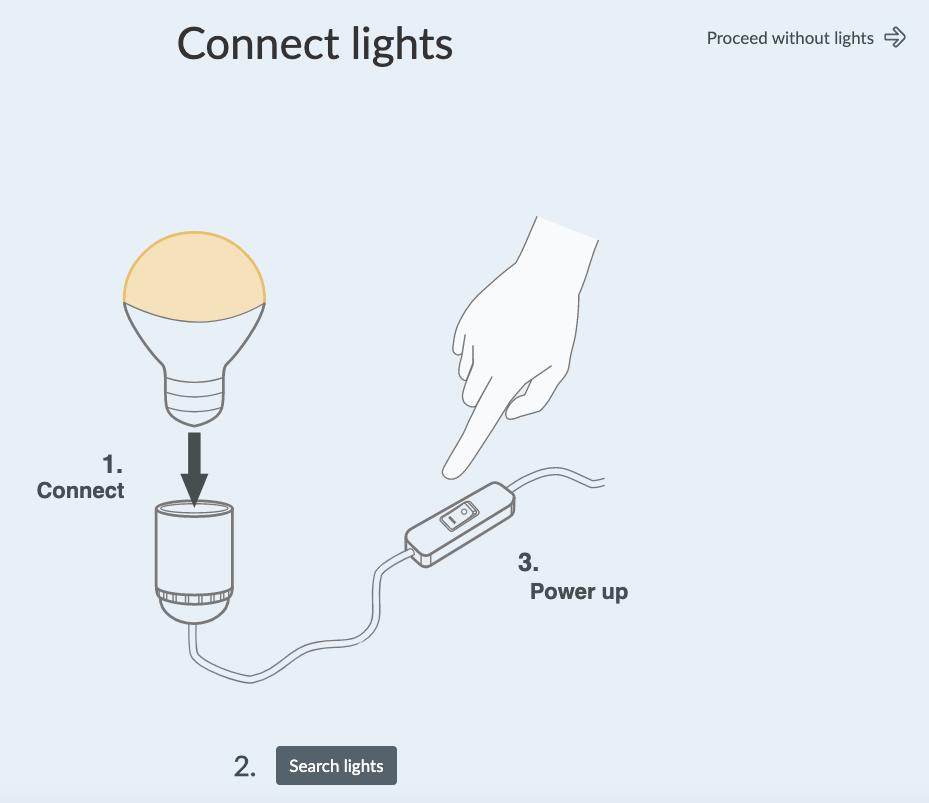
In the next step you can connect lights, but I don’t have installed one yet, so I will continue with the button in the top right Proceed without lights ->
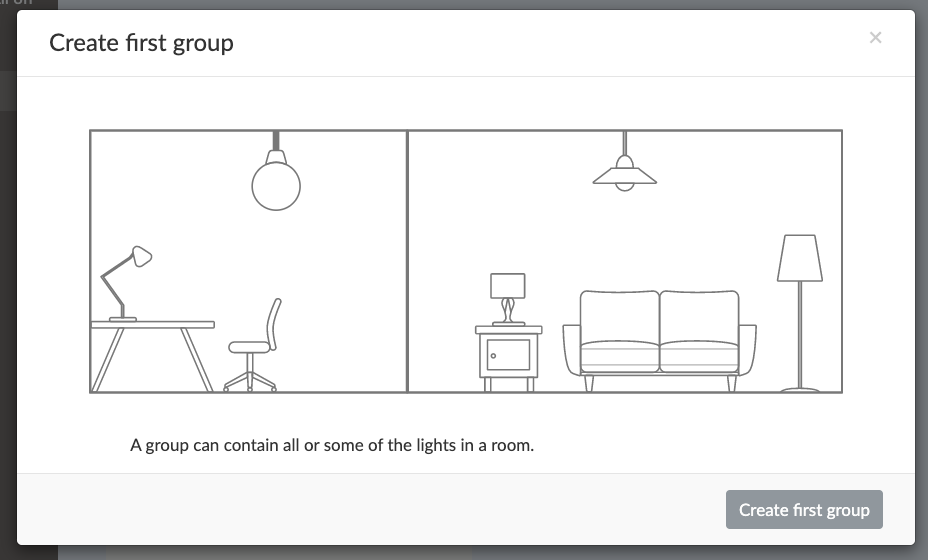
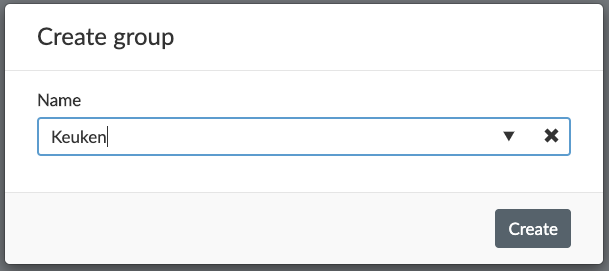
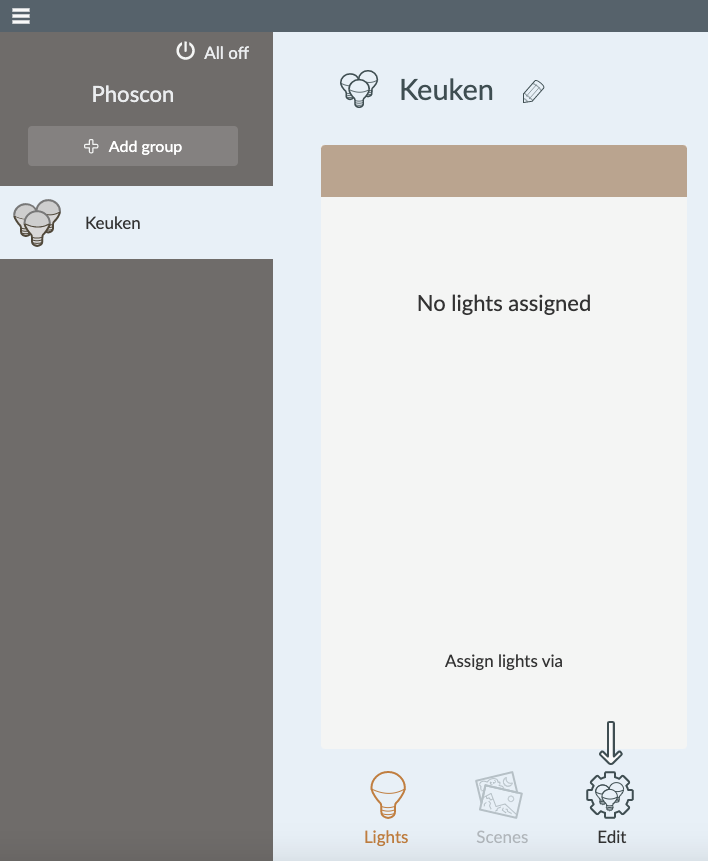
In the next step you can create your first group by clicking on Create first group, give it a name (in my case Keuken) and click on Create
Go back to Raspberry Pi (via SSH) to download and install Domoticz. Run command:
Now we are going to install Domoticz.
Start the installation by running command# curl -L https://install.domoticz.com | bash
This installation will start a wizard.
Select Services: Both HTTP and HTTPS
HTTP Port number: 8080
HTTPS Port number: 443
Installation folder: /home/pi/domoticz
After the installation is complete, you can find the installation log in /etc/domoticz
During my plugin installation (explained later), I had some issues finding it. Seems that we also need to install some python libraries. Run command# apt-get install python3 libpython3-dev libpython3.4-dev
After install, restart Domoticz# sudo service domoticz restart
Now we are installing the deCONZ plugin to Domoticz. Go to the plugin folder# cd /home/pi/domoticz/plugins
Download the plugin# git clone https://github.com/Smanar/Domoticz-deCONZ.git
Be sure the plugin has the right permissions
# chmod +x Domoticz-deCONZ/plugin.py
Connection between Domoticz and DeCONZ is going via API. So, first we need to generate a key. First go into the plugin folder# cd Domoticz-deCONZ
Generate the key
# python3 API_KEY.py 127.0.0.1 create
The response will be something like this: Your new API key is : 688C0296EC
Now we are going to add this key to Domoticz, but first we need to restart Domoticz
# sudo service domoticz restart
After the restart (10 seconds), visit your Domoticz website.
http://ip_of_pi:8080 or https://ip_of_pi:443
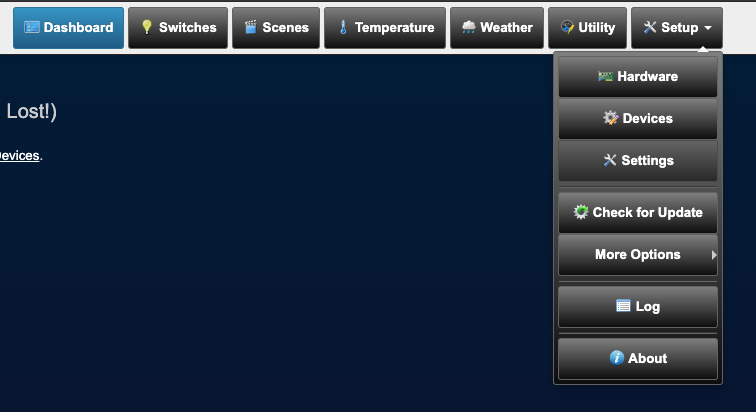
In Domoticz, go to Setup – Settings
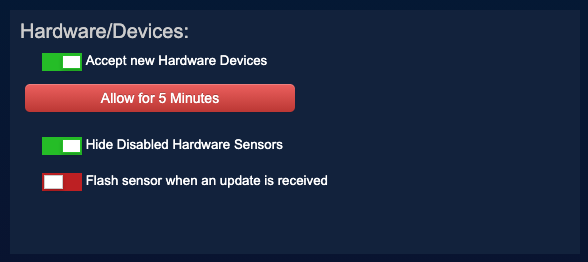
Go to Hardware/Devices (at the bottom of the page) and be sure Accept new Hardware Devices is ON (green)
Go to Setup – Hardware
Add the DeConz Plugin
Add a Name and change the API KEY to the key you just generate.
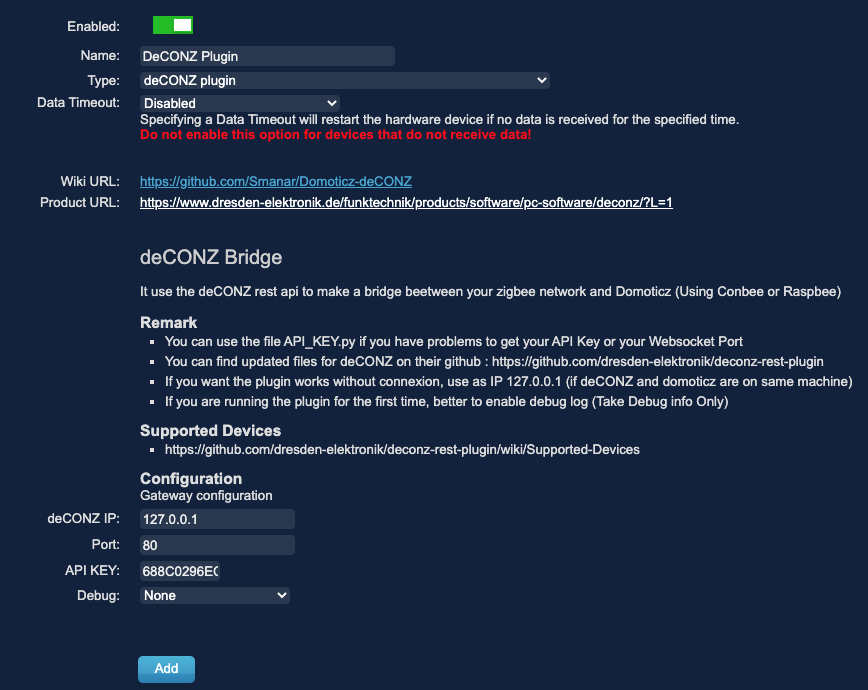
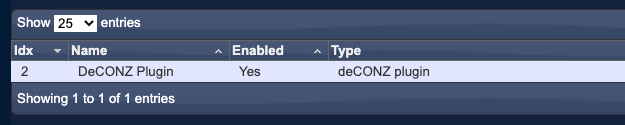
After clicking on Add, you can see in the top the just created Device
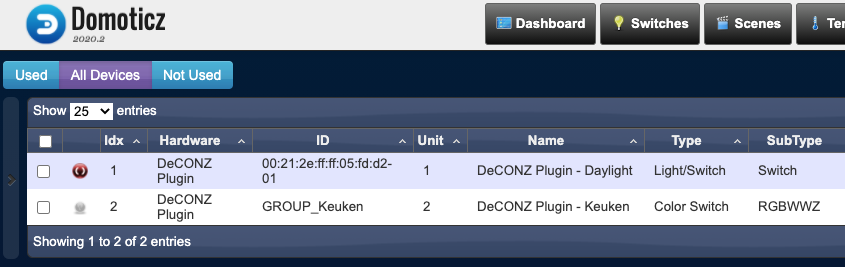
All devices which are already created are added to Domoticz!
You are now ready to add more devices to Domoticz and to personalise it special for yourself 🙂