A lot of my projects run on Raspberry Pi’s. Home automation, retro game station, video management and many more. Before you can install any software on your Raspberry Pi, you must install an operation system first.
Stuff you need:
– Raspberry Pi (all versions)
– MicroSD card (my advise is 16GB or bigger)
– MicroSD USB reader (to write your SD card)
– Power cord (5V/2.5A DC power input (3A if you connect a lot of USB devices)
– HDMI cable (mini HDMI for the Pi 4)
– Hardcase (optional)
– Cooling blocks or/and fans (optional)
Go to the Raspberry Pi website on your pc or laptop and click on Downloads (or go straight to this website: https://www.raspberrypi.org/downloads/).
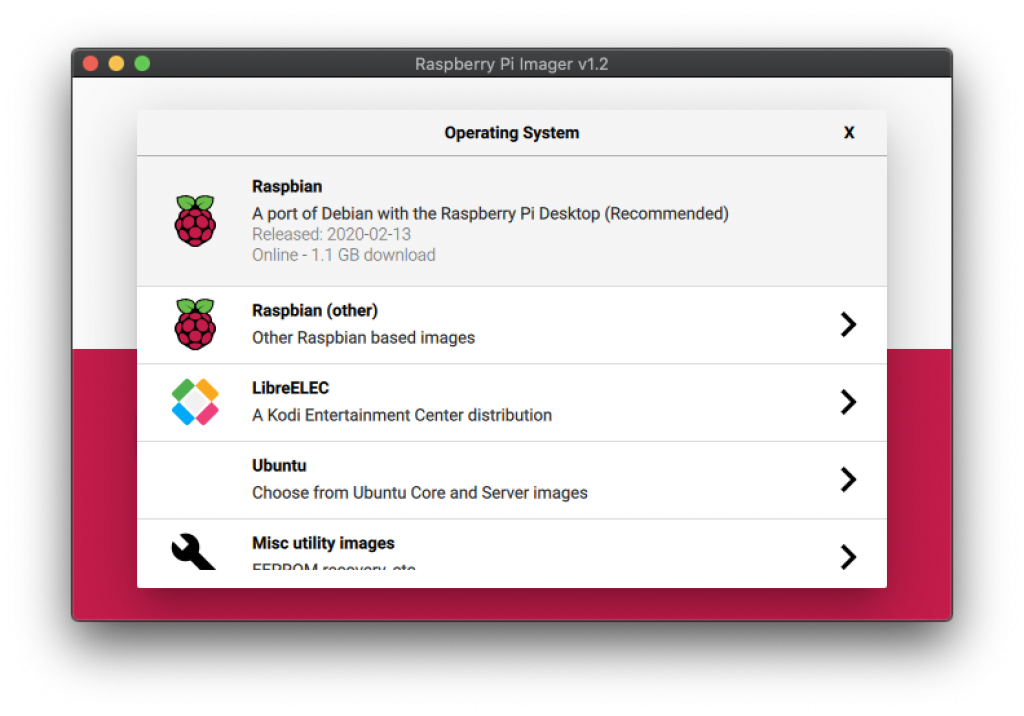
Choose for NOOBS (New Out Of the Box Software) installation, which is an easy start for beginners. For the experts, I recommend the Raspbian.
Choose the offline installation (https://downloads.raspberrypi.org/NOOBS_latest).
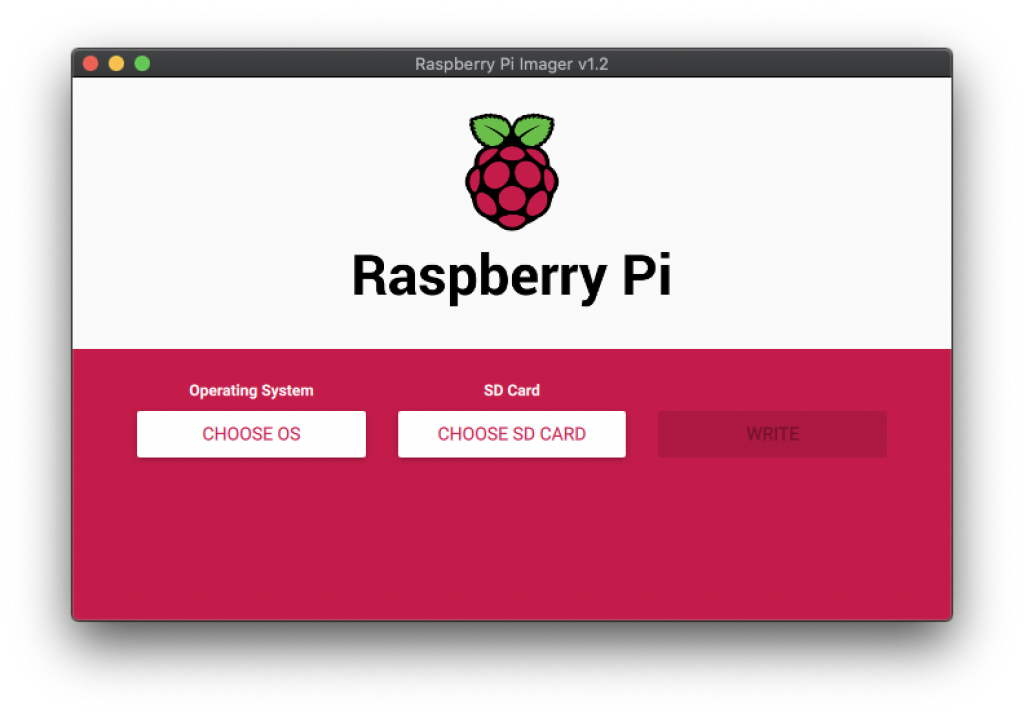
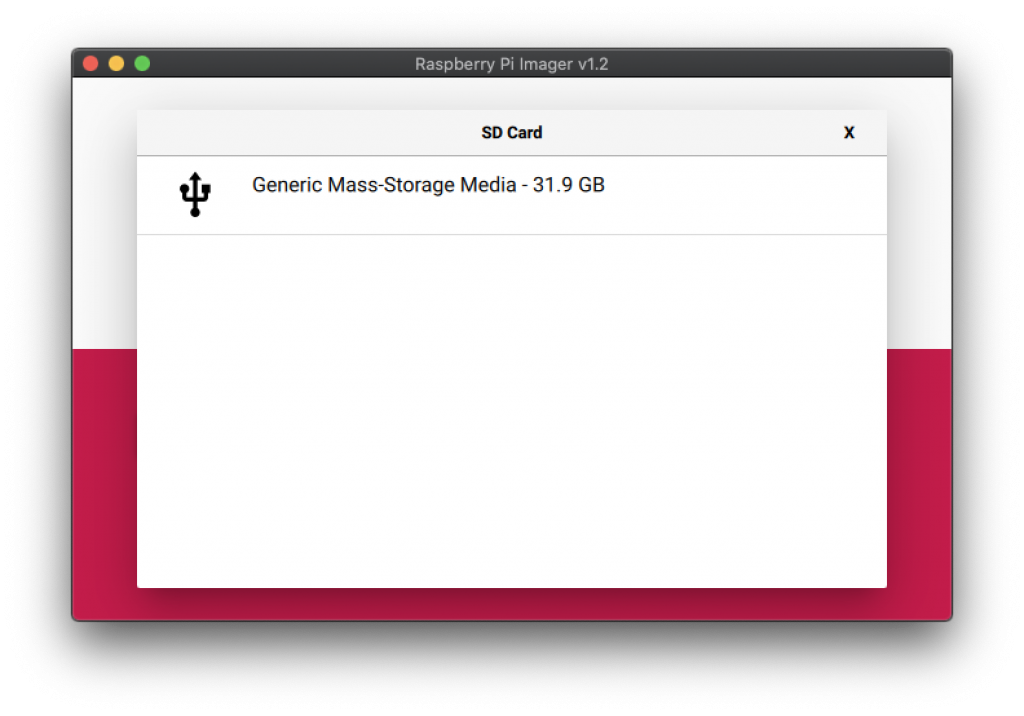
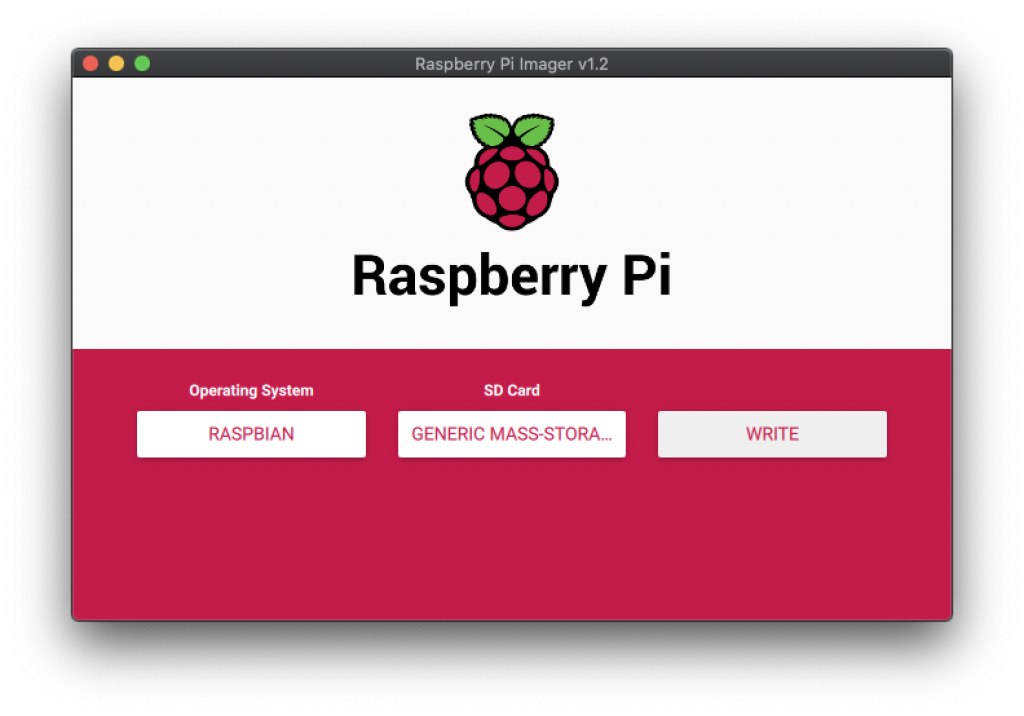
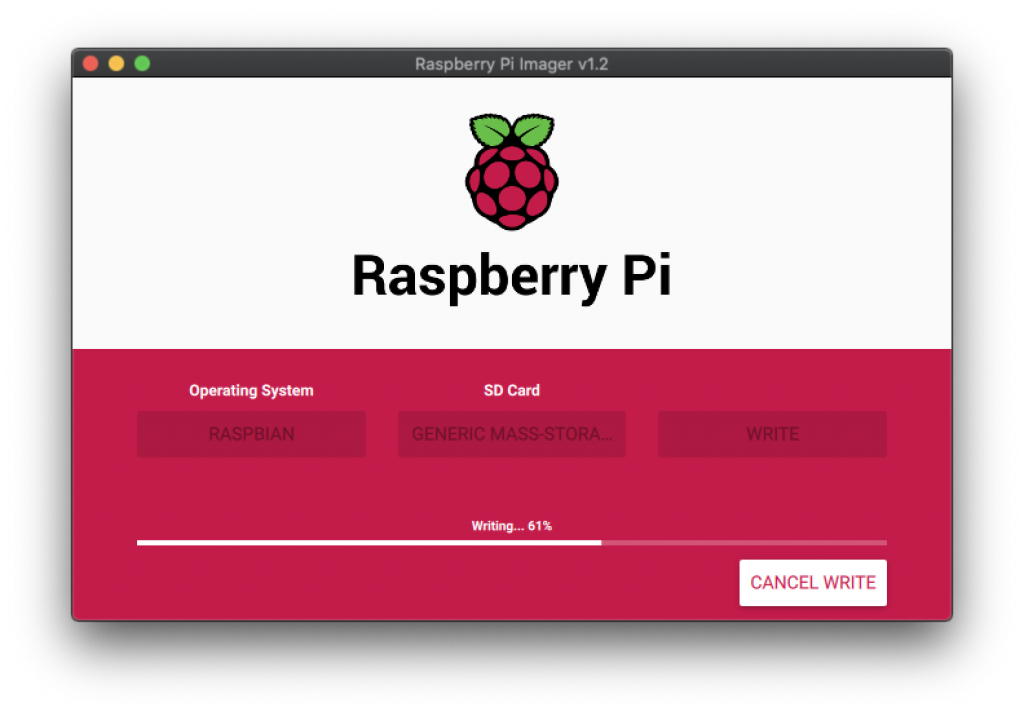
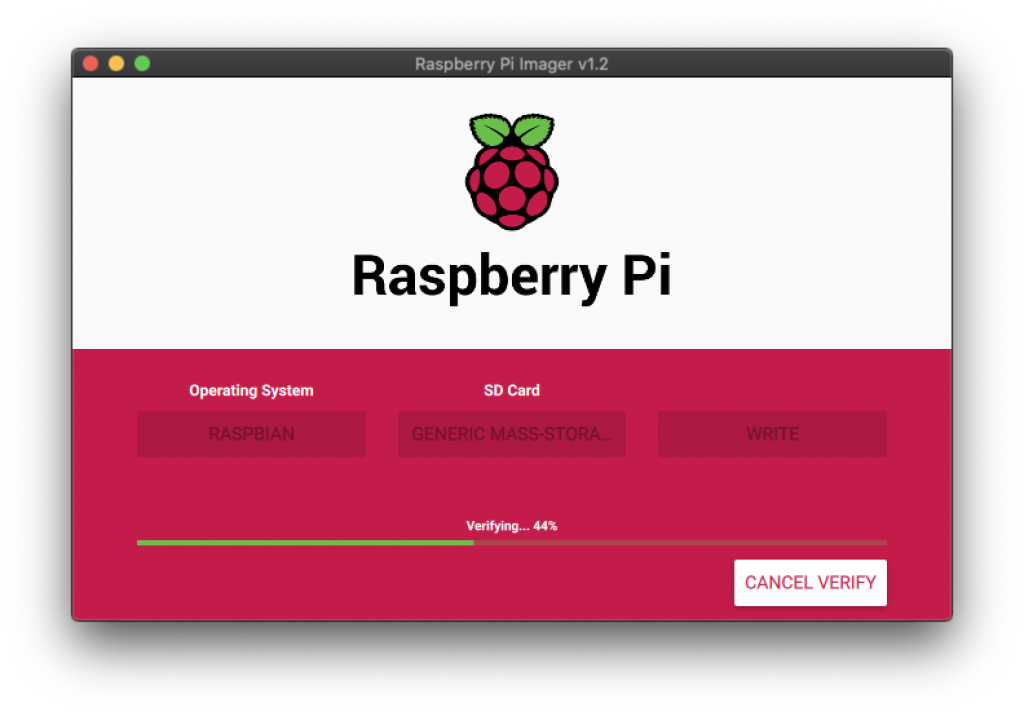
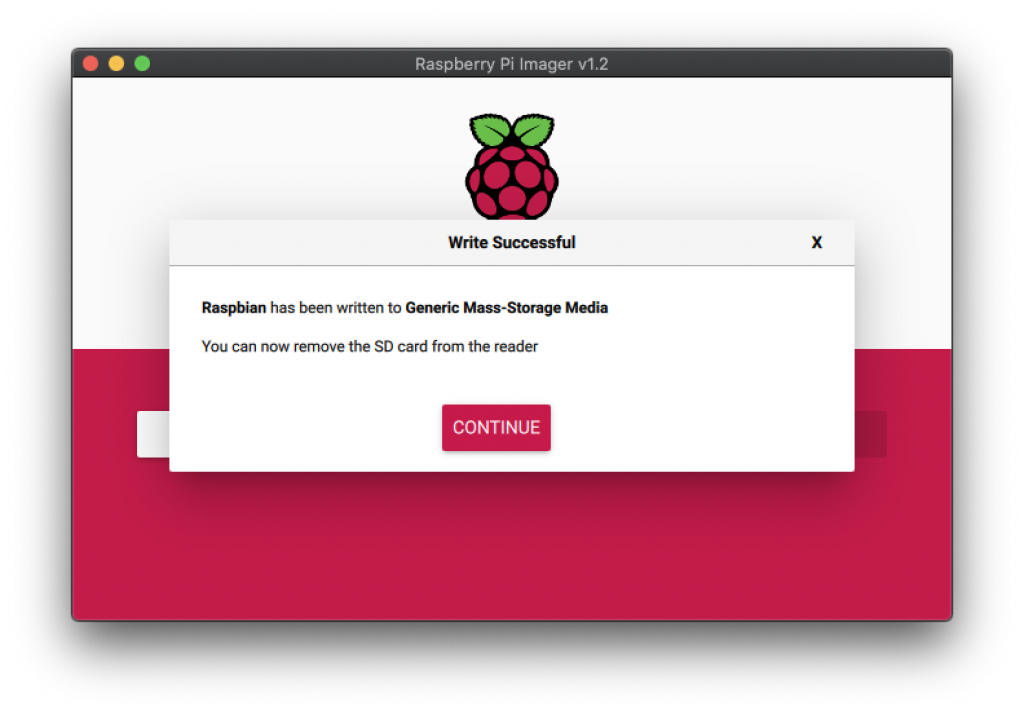
Use Raspberry Pi Imager for an easy way to install Raspbian to the SD card:
– Raspberry Pi Imager for Windows
– Raspberry Pi Imager for macOS
– Raspberry Pi Imager for Ubuntu
Below an example of how I did it on a MacOS.
If you want to enable SSH directly, you can do this by putting a file in the boot partition. If you are on a mac, start your Terminal and go to \Volumes\boot directory. Run command touch ssh.
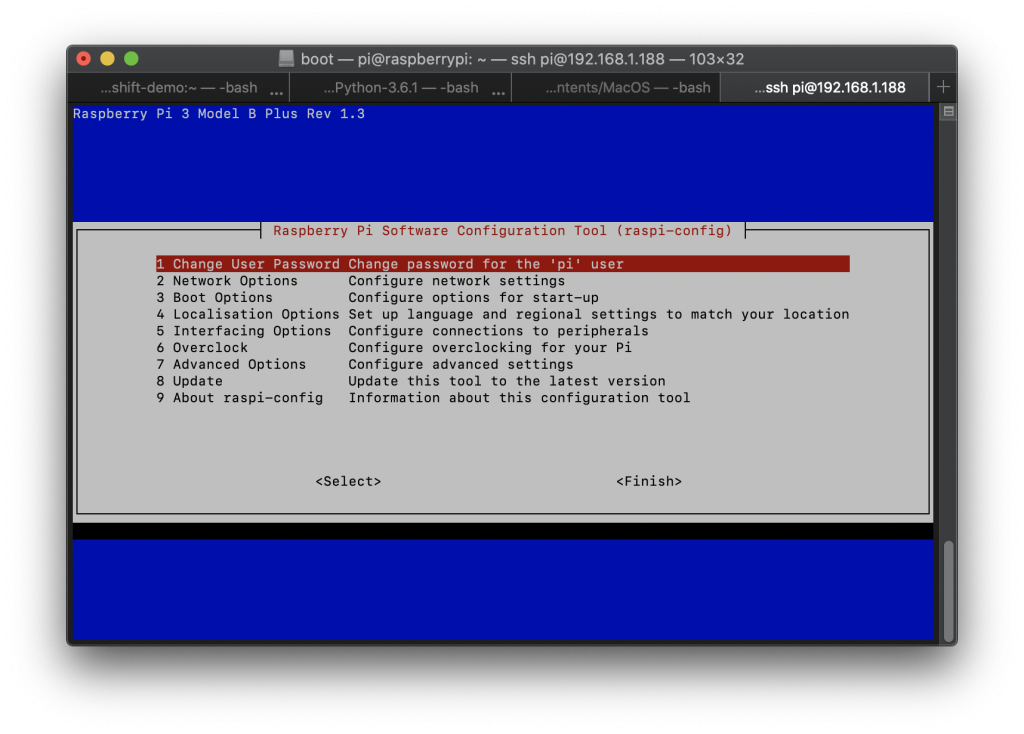
If you want to enable or disable SSH later, you can do this via cli command sudo raspi-config.
1. Select Interfacing Options
2. Navigate to and select SSH
3. Choose Yes
4. Select Ok
5. Choose Finish
Move the SD card in the Raspberry Pi and attach a network cable. A monitor, keyboard and mouse are not needed because I am going to manage the Pi remotely via SSH. At the final step, connect the power cord. This will automatically boot the Raspberry Pi.
To connect to your Pi, you have to know the IP address. I found it by accessing my local router and checked which devices are connected.
I connect to my Pi by command ssh pi@ipaddress. Default login is username:pi password:raspbarry. My advise is to change this as soon as possible.
Update your Pi to latest with command:sudo apt-get update && sudo apt-get upgrade
Within the Pi they created a config menu. You can easily change your Pi name, your password and much more. You can access it by running command sudo raspi-config
After you finish configuring, click on Finish.
Your Raspberry Pi is ready to use.
Have fun playing!