

In my previous blog you can read about the server I build. This blog will describe the OS layer I will install on this build. I choose for Proxmox Virtual Environment or in short, Proxmox VE. Proxmox VE is a complete open-source platform for enterprise virtualization. With the built-in web interface you can easily manage VMs and containers, software-defined storage and networking, high-availability clustering, and multiple out-of-the-box tools on a single solution.
I have to say that Proxmox is one of the better website which describe how to install and use their products. When you enter the get-started section of there website, there are 3 steps defined. See the full installation guide for more information.
Step 1: Download ISO image
An ISO image file is an image of a disk. Download the Proxmox VE ISO, then copy it to a USB flash drive or CD/DVD in order to use it. Copy an ISO to my USB stick is not an everyday taks for me, so I used the steps from the full installation guide which was very detailed. Below I describe how you can do it on a MacOS, but Linux and Windows are also available. More info here. I downloaded version 6.2-1 when I write this blog.
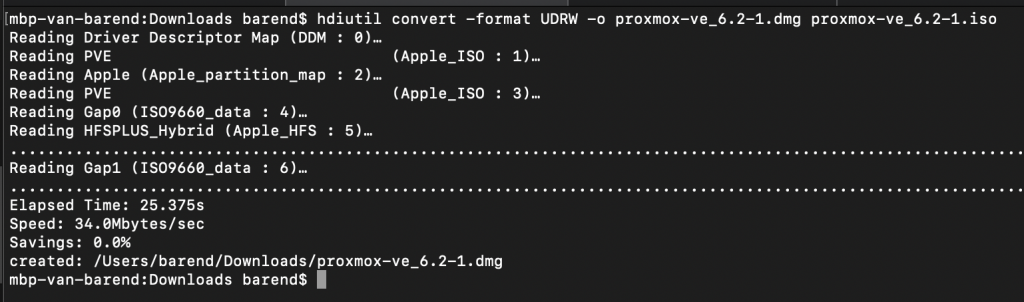
First we need to convert the .iso file to .img using the convert option of hdiutil. Go to the directory where you downloaded the ISO and run this command:# hdiutil convert -format UDRW -o proxmox-ve_6.2-1.dmg proxmox-ve_6.2-1.iso
The new dmg file is about 900MB, but is probably compressed and will be uncompressed when we write it to the USB drive. My advise is to use an USB drive which is bigger than 1GB.
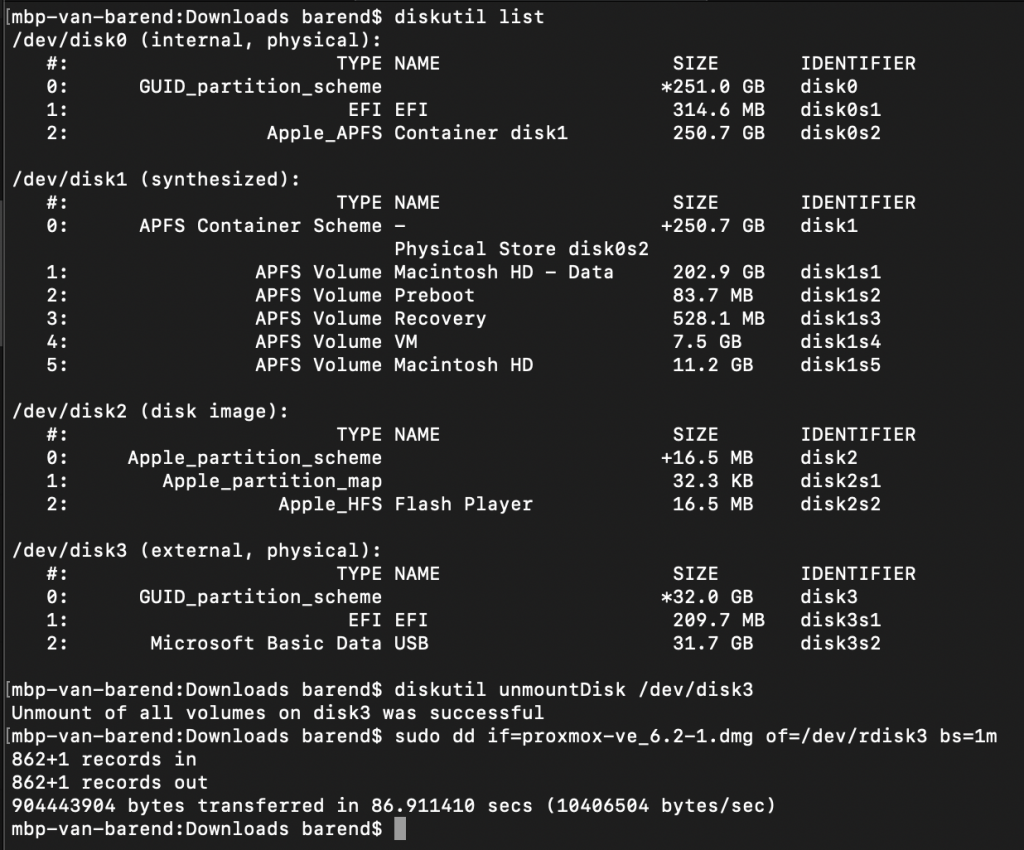
To get the current list of devices run the command (see printscreen below)# diskutil list
Write down the USB drive, in my case it is /dev/disk3
The USB needs to be unmounted before you can write an image to it.
Unmount the disk with command# diskutil unmountDisk /dev/disk3
Write the image to the USB with command # sudo dd if=proxmox-ve_6.2-1.dmg of=/dev/rdisk3 bs=1m
* We use rdiskX instead of diskX because it will increase the write speed.
When this is finished, the USB is ready to use.
See below the output from the 3 commands
Step 2: Boot from USB
Connect the USB drive to the server and make sure that booting from USB is enabled (check your servers BIOS settings). In my case I have to press F11 after I power on my server. Then follow the steps in the installation wizard. Full description can be found here.
Proxmox VE is based on Debian. This is why the install disk image include a complete Debian system (Debian 10 Buster for Proxmox VE version 6.x) as well as all necessary Proxmox VE packages.
When you booted successful from the USB drive, you get a welcome screen.Choose Install Proxmox VE
Boot image starts and End User License Agreement (EULA) is displayed. Click on I agree
Choose your target harddisk, I choose my SSD /dev/sda (465GB)
There is also a button Options where you can change your Filesystem and HDD size. At this moment I leave everything to default.
Click on Next
At Location and Time Zone selection, I choose for Country: Netherlands
The Time zone: Europe/Amsterdam is automatically adjusted.
Choose your Keyboard Layout: U.S. English
Click on Next
Create your Administration Password and E-Mail Address and click on Next. This password will be connected to the root user.
Choose your Management Interface. I have only 1 network port, so I have only 1 option.
Choose your hostname, IP Address, Netmast, Gateway and DNS Server.
There is no automatically (or DHCP) option available. If you are already connected to the network and you have a DHCP configured, everything is already pre-filled for you with a DHCP address. Adjust what you want and click on Next
On the next page you see a summary of your settings you just filled in.
Click on Previous if you want to change anything or Click on Install to start the installation process.
When the installation process is finished, you received a message Installation Successful! Click on Reboot and remove the USB Stick you used for the installation.
On another computer/laptop, go to https://Proxmox_IP_address:8006
If you forget https:// there is a possibility that you receive an error.
Step 3: Configure via the GUI
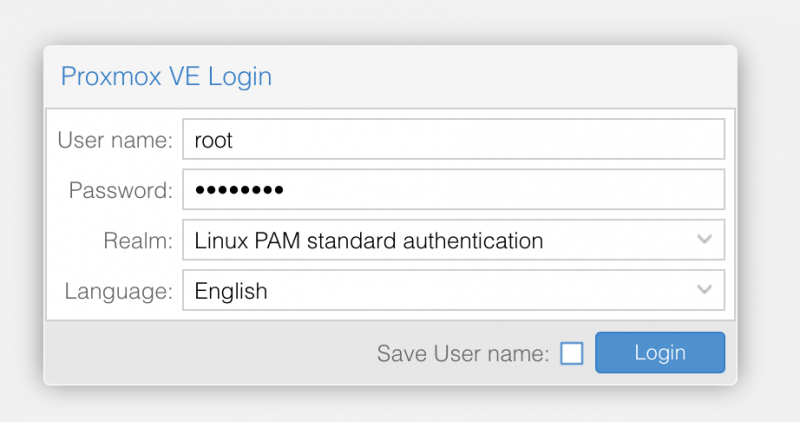
You can do everything from the website interfase. Just go to the website and login with root and the password you created during the installation process.
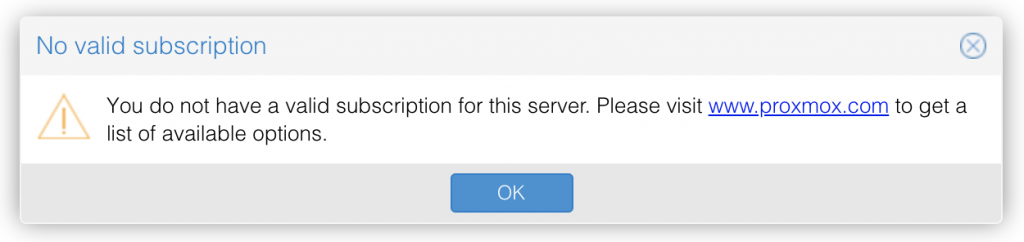
Please notice, you receive a No valid subscription because you use the free version without support. If you want support on your server, please go to this address.
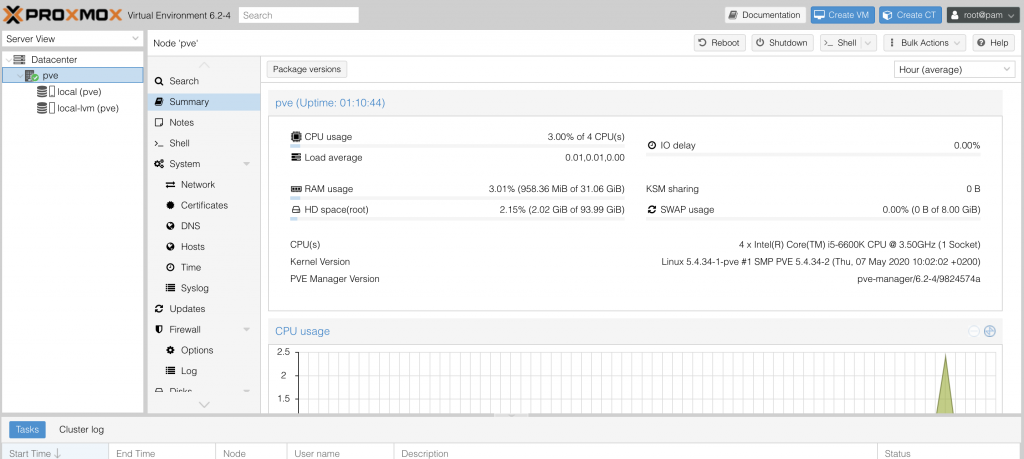
After you clicked on OK, you can access your Proxmox Virtual Environment.
It is very easy to create a VM or CT from this point. I will write a blog about that later.